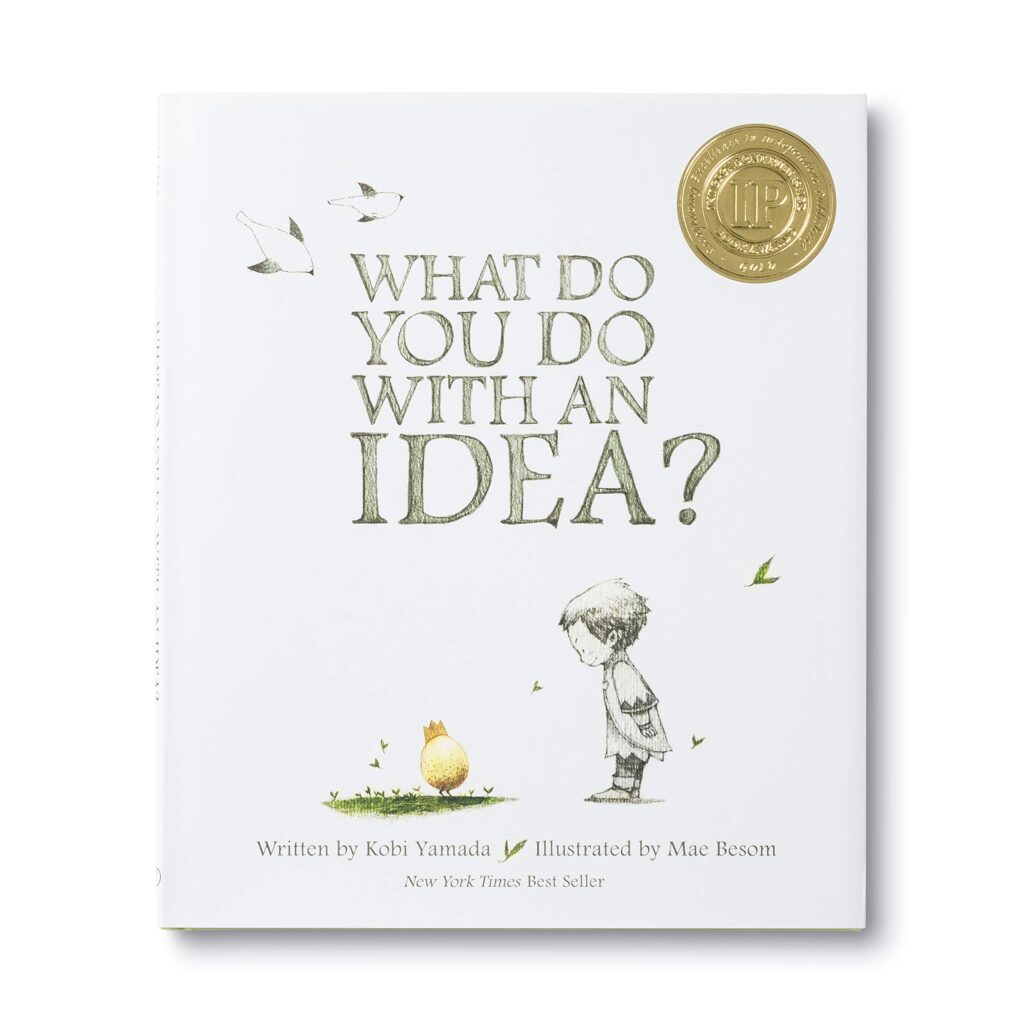
March is International Idea Month and I can’t think of any better way to celebrate than to inspire students to grow their own ideas into reality. An amazing way to start this process is with the book What Do you Do with an Idea? by Kobi Yamada. Then follow up your reading with some idea activities designed to jump-start deep thinking in your classroom!
If you are looking to foster deep thinking and encourage students to allow their ideas to grow, then International Idea Month in March is the perfect springboard. My favorite way to begin is with the book What do you do with an Idea? Following it up with activities that bring the message of the story to life will help transform your classroom. Here are the 3 activities I always paired with this amazing story!
What Do you Do with an Idea?
First, let’s chat about an amazing book by Kobi Yamada called What Do you Do With an Idea? The story follows an idea that a young child helps to bring into the world.
One day the child has an idea for something. He first wonders where his idea came from, but then quickly feels scared about telling anyone his idea. What if they don’t like it or think it is silly?
Despite his worry, the child allows the idea to grow and grow and grow until it becomes reality!
When I used to read this book to my students, I would ask them to keep track of the process that was happening. At the end of the reading, we would discuss how the child’s idea came to be reality. What did he do? What were the barriers? How can we help our ideas grow?
The discussion became a perfect jumping-off point for getting students to think more deeply in my classroom. But reading this amazing book was just the beginning. With the stage set, we dug into some fun and engaging activities that were designed to encourage students to think deeply about their own ideas.
What Do You Do with an Idea Activities
These 3 simple activities are my favorite ways to follow up the reading of the story. These activities will help your students come up with ideas as well as re-imagine previously held ideas to foster deep thinking and innovation!
1. Conduct a SCAMPER Brainstorming Session
Ah, good old-fashioned brainstorming. When was the last time you just let your students brainstorm ideas? Does it sometimes feel unproductive? If it has been too long or doesn’t feel like it is worth your time, I challenge you to try a SCAMPER brainstorming session.
I always began by laying the ground rules for the brainstorming session. My number one ground rule was that it was okay for someone to piggyback off an idea. It is part of the process. I explained that by modifying or adding on to ideas, we could create even better ones!
Not only did this rule allow ideas to grow and develop, but it also helped to avoid hurt feelings. Instead of students feeling like someone “stole” their idea, they had a sense of ownership in the new idea.
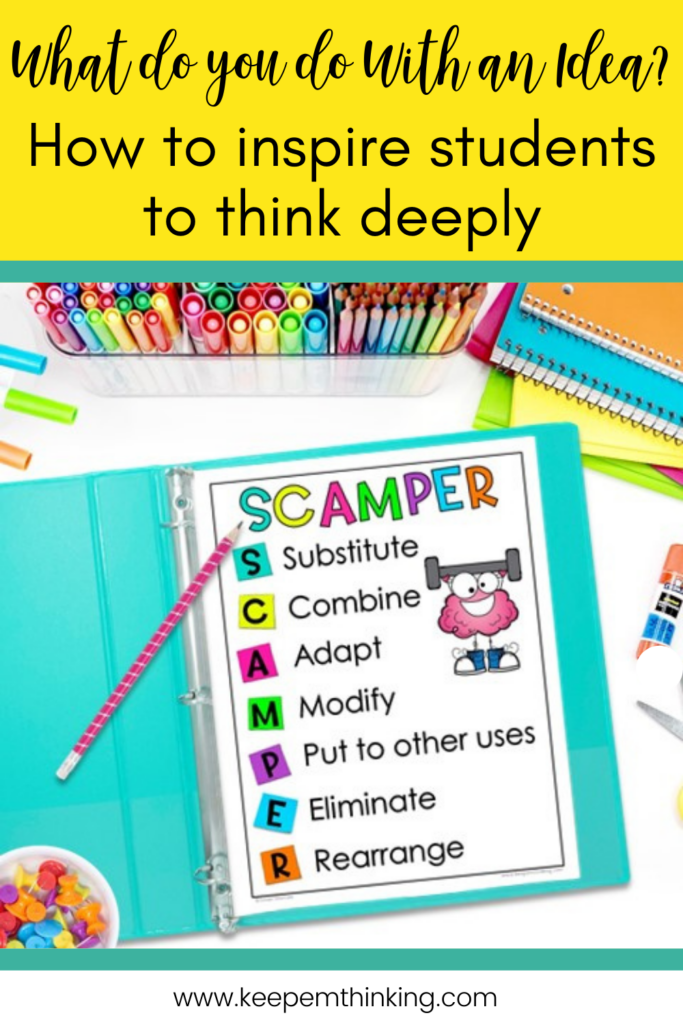
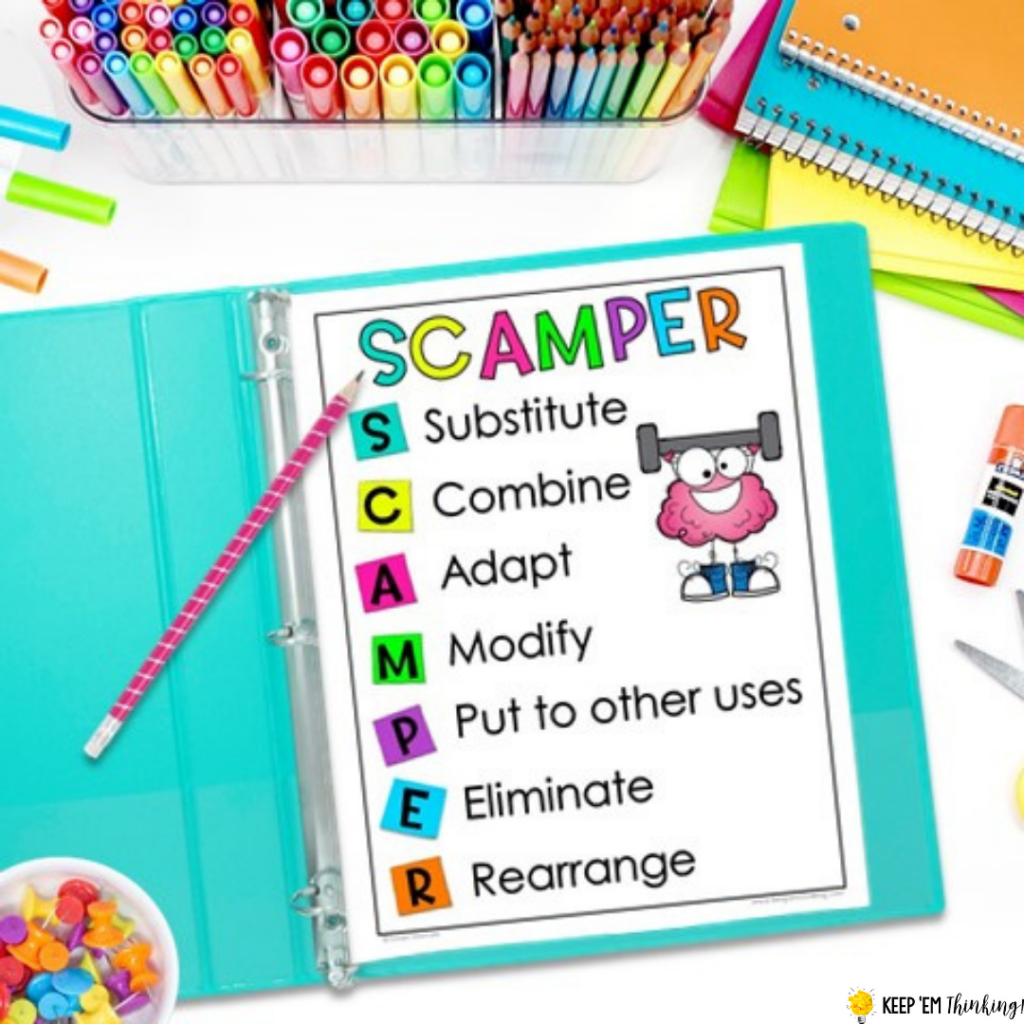
Then I introduced SCAMPER which stands for substitute, combine, adapt, modify, put to another use, eliminate, and rearrange. The idea behind this brainstorming method is that you take an existing idea or object, and you ask questions about it using each of the categories listed above to come up with a new idea. This brainstorming tool really helped my students to re-imagine and create brand new ideas!
I would give students a handout with some guiding questions that fell under each category and would present the topic we would be brainstorming about. Then I would let them have at it!

Question Examples:
- Substitute: What if we added X to the idea?
- Combine: What if we combined the idea with X?
- Adapt: What other things are like the idea?
- Modify: What if we changed X about the idea?
- Put to another use: Can the idea be used in a different way?
- Eliminate: What could we get rid of?
- Rearrange: How could we reorganize the idea?
After laying the ground rules, then I did one of the hardest things for a teacher . . . get out of the way! It’s really important to let students be at the center of these activities. Be there to facilitate or answer questions, but let students do the brainstorming. Allow for long pauses of silence during brainstorming. Avoid the temptation to jump in and help out students with your own ideas. Allow them to come to their ideas on their own, even if it might feel awkward for you at the front of the room. It is okay!
2. Re-imagine Everyday Objects Challenge
I loved using this activity to help encourage out-of-the-box thinking! The premise is simple. All you have to do is bring in a common, random item. I always used to bring in a brick, but you can literally present any object you can get your hands on! My favorite items were either very common or completely unknown. Both got students thinking but in different ways.

I would set the brick out on the front table and ask students what it was used for. Immediately, they would answer for buildings or sidewalks. So I would confirm with them, “This brick is for building?” The whole class would agree.
Then I would begin to challenge their thinking by saying, “Is building the only thing it can be used for?” Most of the time students would look at me like I was silly because of course in their minds bricks have always been for building. I would tell them that bricks had more possibilities if we were willing to imagine them and see them as something other than building material.
From here, I would introduce the activity. This common object was no longer used for its obvious purpose, and they needed to create a list of what it could be used for besides that purpose. So for example, a list of what a brick could be used for besides building things.

I found that this worked well as a Think-Pair-Share activity. Students would pair up, re-imagine together, bounce ideas off one another, create their list, and then share with the class.
As each group shared, any new use would be added to the whiteboard. By the time the last group finished sharing, the board was usually filled with different uses. It was amazing to see the number of ideas they generated when simply given the chance to view something from a different perspective.
To extend the activity, sometimes we would discuss which ideas would be most plausible. Here I would begin to introduce the concept of the engineering design process. The process that ideas should go through when creating: ask, imagine, plan, create, experiment, and improve.
I liked to break the students into small groups and have them choose one of the ideas from the board. Then each group would walk through the engineering design process with their new idea. This process might be done in one day, or it might be something we day over a week or two. This activity gives you lots of flexibility to dig into the design process as much or as little as you’d like.
3. SCRAPS Activity
I saved the most engaging, and one of my favorite activities, for last because this is where the ideas truly start to come to life!

All you need is a box of colored paper scraps. Don’t feel like you need to prep anything. Grab the recycle bin after a project workday or ask the art teacher to send any leftover paper your way. Place all of the scraps in a box and then hold out the box for each student to choose a piece.
You can do this one of two ways. You can hold up the box so students don’t see what they are getting, or you can have them look and grab a piece of paper that speaks to them (if you are going to use this approach, I would have very clear guidelines for time limits on choosing). I always loved the random approach!
Once each student has a scrap of paper, they glue it to a white piece of paper. Here is where the magic starts to happen. The challenge is that they have to turn that scrap of paper into something by using crayons and markers to draw their design.

Just like the other activities covered in this post, students have to look at something and think of it in a new or different way. However, this is the opportunity for them to bring their idea to life!
If students were struggling, I gave them two suggestions: 1) turn the paper a different way to see a new perspective, or 2) just start drawing and see what happens.
After the first initial run-through of this activity, my students would love when the scraps box came out, and I’m confident your students will too!
International Idea Month Activities
March is International Idea Month but is there really a bad time to teach students about developing ideas? I think not! I have put together an International Idea Month Toolkit that you can grab for free. This resource is jam-packed with lots of ideas and resources for your classroom. Inside this toolkit you will find idea quote posters, What do you do with an Idea? book activities, brainstorming posters and activities, the engineering design process poster and activities, and lots more! Sign-up below to download your free International Idea Month Toolkit today!
Save These What Do You Do With an Idea Activities
Pin this to your favorite classroom Pinterest board, so you can come back when you are ready to tackle deep thinking in your classroom.
